Hanging photos can transform a bare wall into a personal gallery, but careless installation may leave holes, peeling paint, or cracked plaster. The challenge becomes greater in rented homes, older apartments, and rooms with textured surfaces. A reliable Photo Hanger On Wall should match the frame’s weight, wall material, humidity, and expected display time. Decorative choices matter, too. A heavy frame above a narrow desk can feel visually unbalanced, even when it hangs safely.
Recent housing research shows why damage-free methods deserve attention. The Joint Center for Housing Studies of Harvard University reported continued strength in homeowner improvement spending through its Improving America’s Housing 2023 report. This indicates that people are investing more in personal interiors. Houzz’s 2024 U.S. Houzz & Home Study also tracks substantial renovation activity and rising attention to customized living spaces. These findings support a practical point: wall décor is no longer an afterthought. It is part of intentional home improvement.
Yet “damage-free” is not absolute. Adhesive products can fail on dusty, damp, freshly painted, or weak surfaces. The 3M Installation Guide recommends cleaning surfaces, checking weight limits, and allowing suitable paint-curing time. That advice is easy to skip. I have seen otherwise careful displays fail because the frame was mounted too quickly. This guide explains safer preparation, placement, hanging tools, and removal techniques. It also challenges common assumptions, because a small nail is not always more damaging than a poorly chosen adhesive. Test carefully, measure twice, and accept that every wall has different risks.
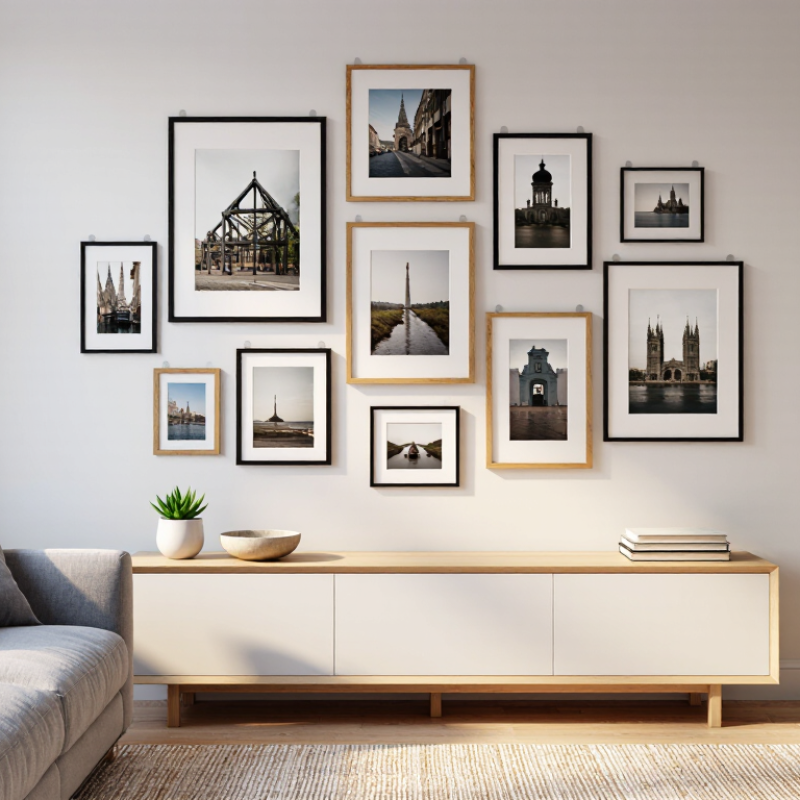
Assess Wall Type and Paint Cure Time Before Hanging Photos
Before hanging photos, identify the wall material and confirm the paint has cured, not merely dried. Gypsum board usually sounds hollow when tapped, while plaster feels denser and more rigid. ASTM C1396/C1396M recognizes common gypsum-board thicknesses, including 12.7 and 15.9 millimeters. That difference affects fastener choice and holding strength. Tile, masonry, and textured surfaces require separate methods.
Dry paint can still be soft underneath. Many water-based coatings need roughly two to four weeks for full cure, depending on humidity, temperature, and film thickness. Follow the coating’s technical data sheet when available. The Painting and Decorating Contractors of America states that surfaces should be clean, dry, sound, and properly prepared before decoration. I once hung a small frame after three days. The paint looked perfect, but the contact point later became glossy.
Test quietly first. Press a fingertip near an unseen corner. It should feel firm, not tacky or cool. For questionable adhesion, ASTM D3359 uses a tape test and rates performance from 0B to 5B. Do not place tape on fresh paint without permission from the coating instructions. On drywall, locate a stud when the frame is heavy. For lighter photos, use a removable hanging method only after testing a hidden area for 24 hours. Check edges, repairs, and glossy patches carefully. A tiny paint chip may reveal poor bonding, and that mistake is easy to underestimate.
Select Adhesive Hardware by Manufacturer-Rated Weight Limits
How to Hang Photos on a Wall Without Damage?
Select adhesive hardware by its manufacturer-rated weight limit, not by appearance. Weigh the frame, glass, and hanging wire together. A 2-kilogram rating is a test limit, not a suggestion. ASTM D3654 evaluates how long adhesive supports a specified load under static shear. ISO 8510-1 also measures peel strength under controlled conditions. These tests show performance, but your painted wall may behave differently.
Use hardware rated above the frame’s total weight. A practical margin of 25% to 50% allows for vibration, temperature changes, and uneven surfaces. Do not attach adhesive products to dusty paint, loose wallpaper, or textured plaster. Clean the area, press firmly, and wait for the stated curing period. I sometimes want to hang the picture immediately. That impatience is exactly where failures begin.
Tips:
Check the rating for one complete set, not one strip. Keep the frame level. Test a small hidden area first. For heavy or valuable artwork, use a mechanical fixing instead. Recheck the wall after 24 hours. The rating may be accurate, yet my surface preparation may not be.
Prepare Surfaces at 20–25°C for Reliable Adhesive Bonding
Hanging photos without wall damage starts with preparation, especially temperature control. Aim for a room and wall temperature between 20 and 25°C. This range helps adhesive spread evenly and form dependable contact. Cold walls can feel dry but still reduce tack. Excess heat may soften adhesive and weaken its hold. Use a small thermometer near the wall, away from radiators or direct sunlight. I once trusted the room thermostat alone. That assumption was wrong.
Clean the surface with a lint-free cloth and a mild cleaning solution. Remove dust, grease, and loose paint particles. Let the area dry completely before applying anything. A slightly damp wall can trap moisture beneath the adhesive. Press the mounting material firmly across its entire surface. Follow the stated waiting time before hanging the frame. Lightweight photos are safer choices for painted drywall. Textured, peeling, or freshly painted surfaces require extra caution and testing.
Tips: Test a hidden corner first. Mark the frame position with removable pencil lines. Keep the surface between 20 and 25°C during application and curing. Avoid touching the adhesive with your fingers. Skin oils can reduce bonding strength. Check the frame after several hours, then again the next day. If the edge lifts, remove it slowly and reassess the wall condition. Maybe the surface was not ready.
How to Hang Photos on a Wall Without Damage? - Prepare Surfaces at 20–25°C for Reliable Adhesive Bonding
| Surface or Condition |
Recommended Preparation |
Suitable Temperature |
Initial Bonding Guidance |
Damage Risk Considerations |
| Smooth painted drywall |
Remove dust and grease with a clean, dry or slightly damp lint-free cloth. Allow the surface to dry completely. |
20–25°C |
Press firmly for 30–60 seconds; follow the fastening product’s full load-time instructions. |
Use only on sound, well-cured paint. Poorly bonded or freshly painted surfaces may lift. |
| Glossy or semi-gloss paint |
Clean thoroughly and remove residues such as polish, wax, or cooking oils. Test adhesion in an inconspicuous area. |
20–25°C |
Apply even pressure across the entire contact area. |
Smooth coatings can reduce adhesion, while aggressive removal may mark the finish. |
| Tile, sealed ceramic, or glass |
Clean away soap film, dust, and moisture. Dry the surface completely before mounting. |
20–25°C |
Keep the contact area flat and free from grout lines or textured sections. |
Generally smooth, but removal can leave residue or pull weak coatings and sealants. |
| Unpainted plaster or masonry |
Remove loose particles and use a suitable sealed or painted area when possible. The surface must be dry and stable. |
20–25°C |
Allow extra curing time if specified by the fastening system. |
Porous or dusty surfaces may not bond reliably and can shed material during removal. |
| Wallpaper or delicate wall covering |
Avoid applying adhesive directly unless the fastening instructions specifically permit it. Check for loose seams or bubbles. |
20–25°C |
Use a low-load method or a removable hook designed for delicate surfaces. |
Removal may tear paper, lift ink, or separate the wallpaper from the wall. |
| Textured wall or brick |
Choose a flat, stable contact point and remove loose grit. Avoid ridges, deep texture, and uneven mortar. |
20–25°C |
Do not bridge large gaps between the fastener and the wall. |
Uneven contact reduces holding strength and may cause pieces of the surface to detach. |
| Cold, hot, damp, or dusty conditions |
Delay installation until the wall and room reach a stable, clean, dry condition. |
Preferably 20–25°C |
Avoid loading until the stated curing period has passed. |
Temperature, condensation, and humidity can reduce initial tack and long-term holding strength. |
Safety and removal note: Check the fastening system’s stated weight limit, allow the required curing time, and avoid hanging valuable or heavy objects with adhesive alone. For removal, follow the product instructions and pull slowly in the recommended direction; no method can guarantee zero wall damage on every surface.
Install Level Photo Mounts Using a Two-Point Load Distribution
Hanging photos without unnecessary wall damage starts with spreading the load across two points. A single hook can tilt a frame and concentrate pressure in one small area. Two level mounts keep the frame stable and reduce stress on the wall surface.
Measure the frame’s width and place the mounts beneath its left and right hanging points. Keep them evenly spaced from the center. Use a spirit level to mark both positions at the same height. I check the marks twice because a one-millimeter mistake can become obvious above a sofa. My first attempt looked level from across the room, but the frame leaned when viewed beside the door.
Choose fasteners according to the wall material and the frame’s actual weight. A stud provides strong support, while a suitable wall anchor may work for plasterboard or masonry. Never assume both points carry exactly half the load. Uneven wire tension, a heavy frame edge, or an imperfect wall can shift the balance. Test the mounts gently before lifting the frame fully.
Place protective pads on the lower corners if the frame touches the wall. They can reduce scuffs and keep the frame from rocking. Lift the photo onto both mounts, then check the level again. Small holes may still remain after removal, but careful spacing prevents larger damage from repeated adjustments. Take your time. Walls are rarely perfect.
Remove Adhesive Slowly at 180° to Minimize Paint Damage
How to Hang Photos on a Wall Without Damage?
Removing adhesive correctly matters as much as attaching the photo. Pull the tab slowly at 180°, keeping it parallel to the wall. This direction reduces the upward force that can lift paint or tear the paper surface. I first support the frame with one hand. Then, I stretch the adhesive downward in a steady motion. Never jerk it. Small movements work better.
Before removal, warm the area slightly with a hair dryer on low heat. Ten to fifteen seconds may soften stiff adhesive, but excessive heat can blister paint. I also test an unseen corner first. Paint age, humidity, and wall texture change the result. My own rushed removal once lifted a thin paint layer. That mistake was avoidable.
The Harvard Joint Center for Housing Studies projected homeowner improvement and maintenance spending near 485 billion dollars in 2024. That scale makes minor surface repairs worth preventing. ASTM D3359 evaluates coating adhesion from 0B to 5B, although it was not designed specifically for picture-hanging adhesives. A weakly bonded coating deserves extra caution. If the strip resists, stop and wait. Do not twist the frame or scrape the wall. A slow 180° pull is usually safer, though no method guarantees zero damage on fragile or poorly bonded paint.
Conclusion
Hanging photos without damaging a wall begins with understanding the surface. Check whether the wall is painted drywall, plaster, wood, or another material, and make sure recently applied paint has fully cured before installation. Choose adhesive strips, hooks, or other mounting hardware according to the manufacturer-rated weight limit, allowing extra capacity for the frame. For dependable bonding, prepare a clean, dry surface and work in a moderate room temperature of approximately 20–25°C. A well-planned Photo Hanger On Wall setup can provide secure support while reducing unnecessary marks.
Before attaching the mount, measure carefully and use a level to keep the frame straight. Two-point load distribution is recommended because it spreads the photo’s weight more evenly and helps prevent tilting or peeling. When it is time to remove the hardware, avoid pulling outward. Instead, slowly stretch the adhesive downward at a 180° angle, following the removal direction recommended for the product. Patience and controlled pressure can significantly reduce the chance of lifting paint or leaving residue.
 Dekal Home
